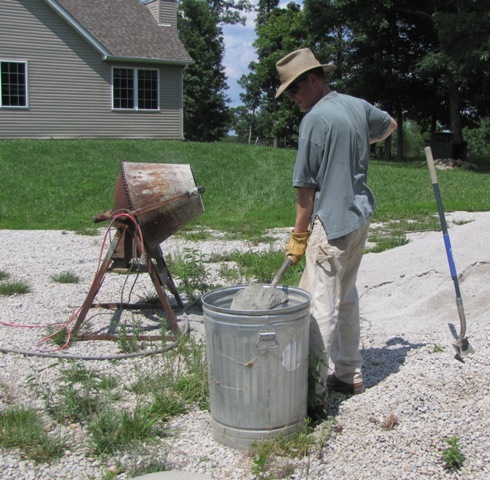
There are several ways to get concrete. You can order a truck load. You can buy concrete mix in bags to which you just add water and stir. Or you can get some sand, gravel, and cement and make it from scratch. This is the route we're taking. A big thanks to my dad for his generous donation of his old cement-mixer! There's no way I was going to mix 18 double batches of concrete by hand!
Step one: Making concrete.
Concrete starts with sand, gravel, and portland cement: the standard recipe is three parts gravel and two parts sand to one part cement. This mixer holds enough for two batches at a time, so here I'm tossing in 6 shovels of gravel and 4 of sand.
Next comes the cement. Two shovels full.
Now we add water. Exactly how much water will depend on many factors, such as the temperature and the humidity. You want just enough water to saturate the mix and make it easy to work with. Too much water will weaken the concrete, so take it easy!
Success! This batch looks just right.
Step two: Filling the forms.
This first round they will only be filled half-way to allow faster curing.
I inserted three, 3-foot long pieces of rebar per form. The rebar is needed to strengthen the footings and reduce the chances of them cracking. Once the forms were filled half way I drove the rebar into the wet concrete, also half way.
After I finished filling the forms halfway I put some buckets upside down over the forms to keep rain out. It ended up raining off and on for the next two days, putting a temporary halt on further progress. When the weather cleared I spent an evening after work filling the forms the rest of the way, and installing J-bolts at the top. Here's the finished product:
And here's one of the bases that will support the post. The purpose of this base will be to keep the bottom of the post off the top of the footing, which will reduce the chance of rot. Not shown in this picture is the rubber membrane that will go over the top of the footing under the base. The purpose of the membrane is to prevent water from seeping down into the concrete in the winter, freezing, and causing tiny cracks to become large cracks.
Step three: Ledger boards.
The ledger boards are bolted directly to the house, and are considered the backbone for the deck.
The ledger boards are attached with these special fasteners. Unlike lag bolts, these require no pre-drilling and have a coating that is guaranteed for life against corrosion. And if that's not enough, they are also cheaper than lag bolts, stronger than lag bolts, and they're made in the USA!
Step four: The support posts.
I only had time on this particular day to get one post cut and installed, so the rest will have to wait until the next post. (Ha-ha, the next post, get it?! It's a pun!)
I cut the posts on our sawmill from red cedar trees grown on our and our neighbor's land. The posts were cut only from the heartwood, so they should last just short of forever.


No comments:
Post a Comment